Nowadays, with the proliferation of REST APIs, automating the process of documenting them has become important to:
- Help API consumers know what services are available, their signature, required parameters, etc.
- Provide a simple and direct way to test services and check if they are available.
- Services can always be subject to change, so automation is important to help keep documentation up to date.
What is Swagger?
Swagger is an open source framework used to design, document and test a RESTful API. It allows developers to create interactive API documentation that describes the various endpoints, parameters, and responses of an API. With Swagger, developers can easily create clear and concise documentation for their APIs, reducing the need for manual documentation and making APIs more accessible to other developers. Additionally, Swagger provides a way to test APIs directly from the documentation, allowing developers to quickly and easily validate the functionality of their APIs.
Swagger UI in particular allows us to document a REST API automatically in addition to providing a web interface that allows us to interact with our API.
This article will demonstrate how to document a REST API with Swagger using the SpringFox implementation of the Swagger 2 specification.
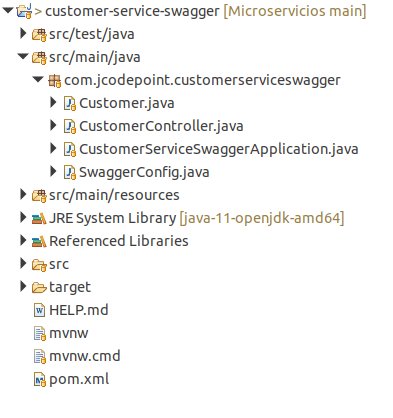
Project to create Swagger Documentation
This article does not cover the creation of the REST API on which we will generate the documentation via Swagger. You can download the project from the following article which explains how to create Spring Boot microservices.
Add Maven dependencies
In the pom.xml file we will add the following Maven dependencies:
- The SpringFox implementation (springfox-swagger2).
- The library required to enable Swagger-UI (springfox-swagger-ui).
<dependency>
    <groupId>io.springfox</groupId>
    <artifactId>springfox-swagger2</artifactId>
    <version>3.0.0</version>
</dependency>
<dependency>
    <groupId>io.springfox</groupId>
    <artifactId>springfox-swagger-ui</artifactId>
    <version>2.9.2</version>
</dependency>
Add configuration using Docket
In this step we have to:
- Create a Java class annotated with @Configuration and @EnableSwagger2.
- Implement a method annotated with @Bean (in the example, the api() method) that returns a Docket object. This method specifies the path to the controllers of our API so that Swagger can locate them.
- Implement a method that returns an ApiInfo object (in the example, the getApiInfo() method), where we will specify API attributes.
package com.jcodepoint.customerserviceswagger;

import java.util.Collections;

import org.springframework.context.annotation.Bean;
import org.springframework.context.annotation.Configuration;

import springfox.documentation.builders.PathSelectors;
import springfox.documentation.builders.RequestHandlerSelectors;
import springfox.documentation.service.ApiInfo;
import springfox.documentation.service.Contact;
import springfox.documentation.spi.DocumentationType;
import springfox.documentation.spring.web.plugins.Docket;
import springfox.documentation.swagger2.annotations.EnableSwagger2;

@Configuration
@EnableSwagger2
public class SwaggerConfig {

	@Bean
	public Docket api() {

		return new Docket(DocumentationType.SWAGGER_2)
				.select()
				.apis(RequestHandlerSelectors.basePackage("com.jcodepoint.customerserviceswagger"))
				.paths(PathSelectors.any())
				.build()
				.apiInfo(getApiInfo());
        }

		private ApiInfo getApiInfo() {
			return new ApiInfo(
					"Customer Service API",
					"Customer Service API Documentation",
					"1.0",
					"https://jcodepoint.com/",
					new Contact("jcodepoint", "https://jcodepoint.com", "jcodepoint@gmail.com"),
					"LICENSE",
					"LICENSE URL",
					Collections.emptyList()
					);
		}

}
Access API documentation
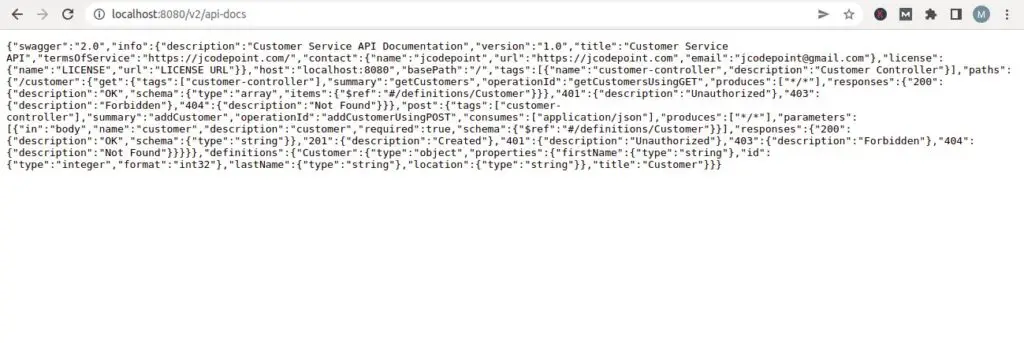
We can verify the generation of our API data by accessing the following URL:
- http://localhost:8080/v2/api-docs
As you can see, the data is displayed in JSon format:
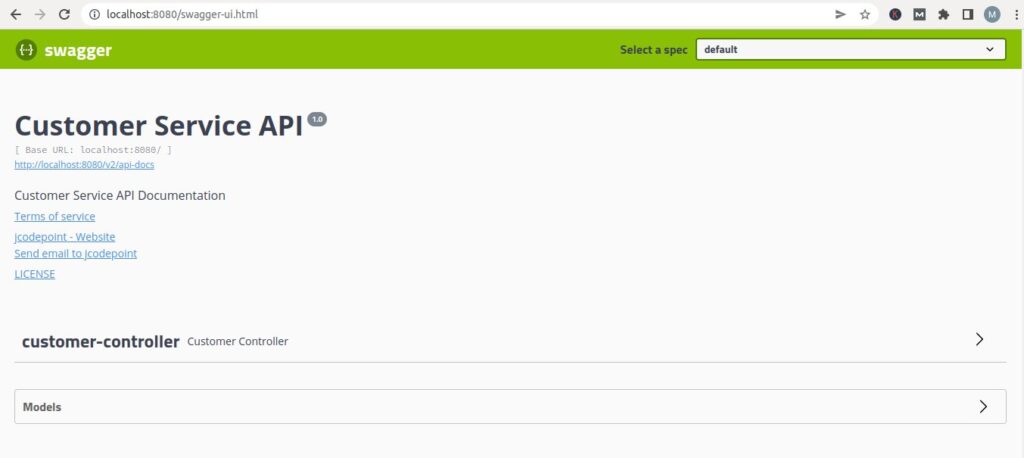
To access a more intuitive interface we can access Swagger-UI with the following URL:
- http://localhost:8080/swagger-ui.html
Conclusion
As we have seen in this article, Swagger is a powerful tool for generating API documentation that can help developers understand how to interact with a REST API. By integrating Swagger with a Spring Boot application, developers can easily generate accurate, easy-to-use API documentation that can help reduce the time and effort required to create documentation. Additionally, Swagger provides a variety of features that can help improve the efficiency and effectiveness of the development process, including interactive documentation, code generation, and testing tools. By following the steps outlined in this article, developers can quickly and easily integrate Swagger into their Spring Boot applications and begin documenting their REST APIs clearly and concisely.